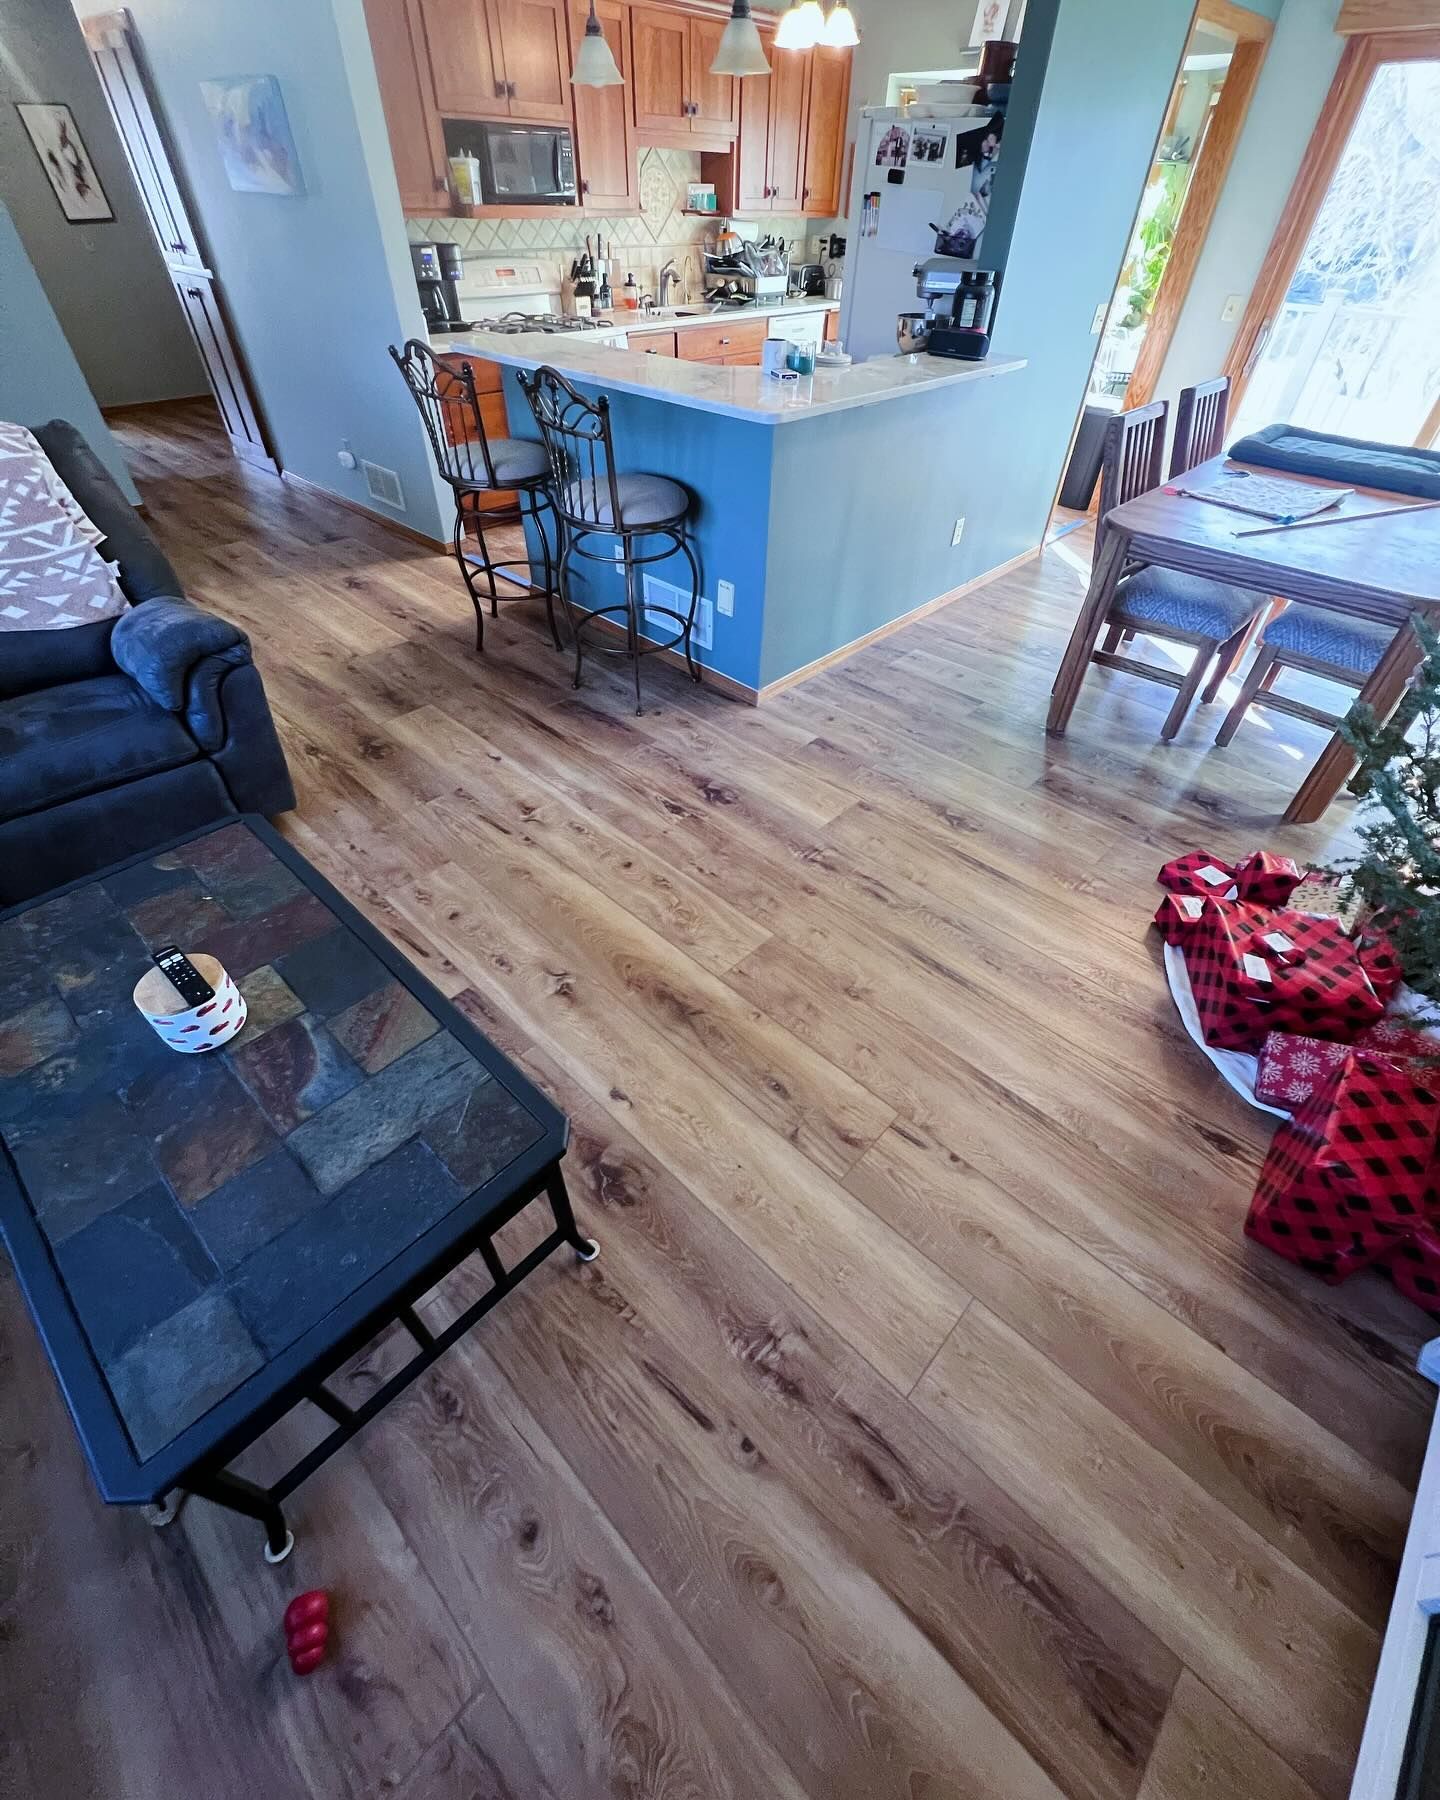
How to install Vinyl Planks Flooring ( lvp, lvt )
Pro Floors • March 5, 2024
How to install Vinyl Planks Flooring ( lvp, lvt )
This is a subtitle for your new post
Vinyl plank flooring has become a popular choice for homeowners in Andover due to its durability, ease of maintenance, and affordability. Whether you're looking to upgrade your home's flooring or embark on a DIY project, installing vinyl planks can be a rewarding endeavor. In this comprehensive guide, we'll walk you through the step-by-step process of installing vinyl plank flooring like a pro floor companies.
Get a Quote Now
1. Pre-Installation Preparation:
• Measure and calculate the square footage of the room to determine the amount of flooring material needed.
• Acclimate the vinyl planks to the room's temperature and humidity for at least 48 hours before installation.
• Ensure the subfloor is clean, level, and free of any debris or imperfections. Repair any cracks or uneven areas.
2. Gather the Necessary Tools and Materials:
• Vinyl plank flooring
• Underlayment (if required)
• Tape measure
• Utility knife
• Tapping block
• Rubber mallet
• Spacers
• Straight edge
• Pencil
• Adhesive (if using glue-down planks)
• Transition strips (if transitioning between different flooring surfaces)
3. Installation Methods:
• Floating Installation:
• Lay down the underlayment if needed, following the manufacturer's instructions.
• Begin by laying the first row of planks along the longest wall, leaving a 1/4 inch expansion gap between the planks and the wall.
• Use spacers to maintain consistent spacing between planks and walls.
• Click the planks together, using a tapping block and rubber mallet to ensure tight seams.
• Stagger the joints of subsequent rows for a more natural appearance.
• Trim the last row of planks to fit, leaving another 1/4 inch expansion gap.
• Install baseboards or quarter round molding to cover the expansion gap.
• Glue-Down Installation:
• Apply adhesive to the subfloor using a recommended trowel size.
• Start laying the planks from one corner of the room, pressing them firmly into the adhesive.
• Use spacers to maintain consistent spacing between planks and walls.
• Continue laying the planks row by row, ensuring tight seams.
• Wipe off any excess adhesive with a damp cloth before it dries.
• Allow the adhesive to cure according to the manufacturer's instructions before walking on the floor.
4. Finishing Touches:
• Install transition strips where the vinyl plank flooring meets other flooring surfaces, such as carpet or tile.
• Install any necessary trim pieces around doorways, cabinets, or other obstacles.
• Clean the floor thoroughly to remove any dust or debris.
5. Maintenance Tips:
• Regularly sweep or vacuum the floor to remove dirt and debris.
• Clean up spills promptly to prevent staining.
• Avoid using harsh chemicals or abrasive cleaners that may damage the surface of the vinyl planks.
• Use felt pads on furniture legs to prevent scratching the floor.
Conclusion: With the right tools, materials, and a bit of patience, installing vinyl plank flooring can be a relatively straightforward process. By following the steps outlined in this guide, you can achieve professional-looking results and enjoy the benefits of beautiful and durable flooring in your home for years to come.
